And here comes the really ambitious part. I’ve decided to fill in an appropriately spinning starscape into the Observation Dome window. The first scene in the C’n’C was next up in the episode. One of the shots was locked off and at an angle, so there were no reflections, characters, or preexisting felt-and-rindstone star-fields to worry about. The other had all of those, as well as a relatively sweeping camera move that I had to match in Lightwave, rather than just rendering the view outside from the angle where you could see the most out the window and match-moving it in After Effects. In fact, it’s probably tied for the most difficult such shot in the episode. In light of that, I just temped it in here, superimposing the exterior render on top of the episode footage. I’ll come back later after I’ve done more of the simpler ones and gotten a better handle on how things work. Not to mention that I didn’t do the best job eyeballing the match move in Lightwave, and missed rendering one frame. Whoops.
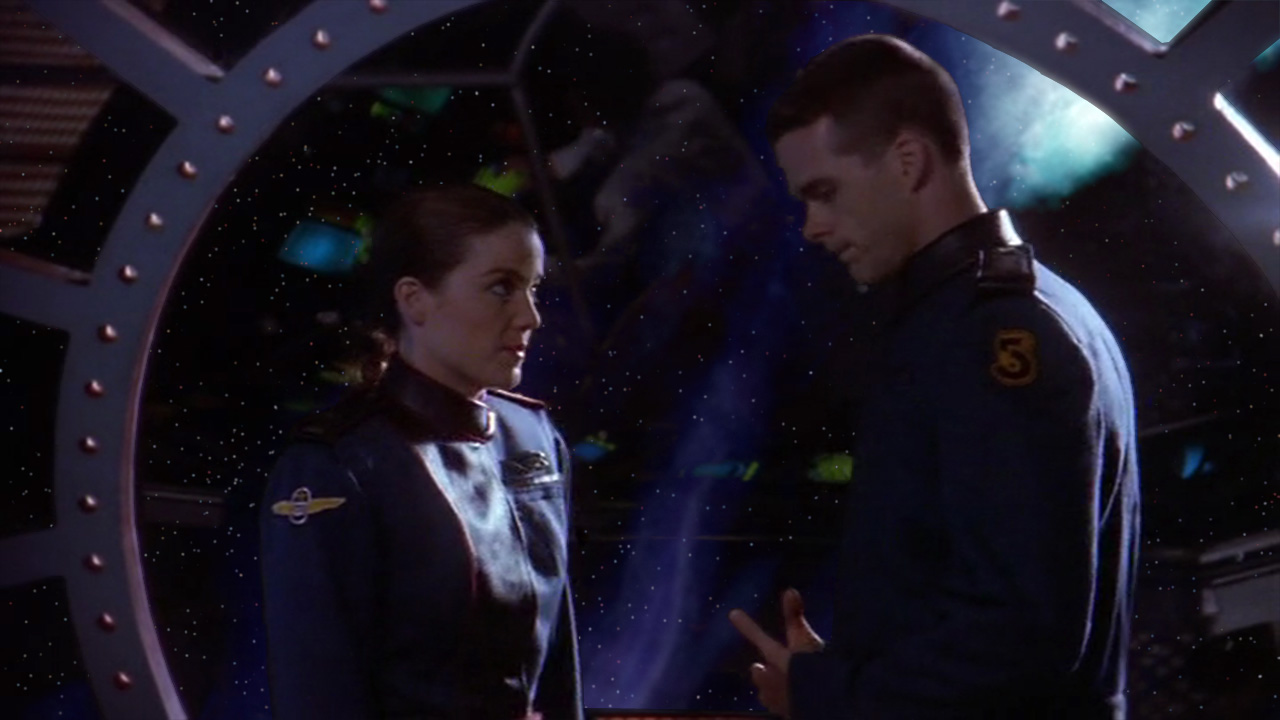
Actually, I just remembered that my student copy of Maya is good for a while longer, and it included the unimaginatively named MatchMover. So, that should at least solve my “shots with big camera moves” problem. That only leaves the “thundering pain in the butt rotoscoping” problem. Why couldn’t the Earthforce uniforms have been, like, powder blue instead of navy? Why couldn’t Ivanova be blonde?
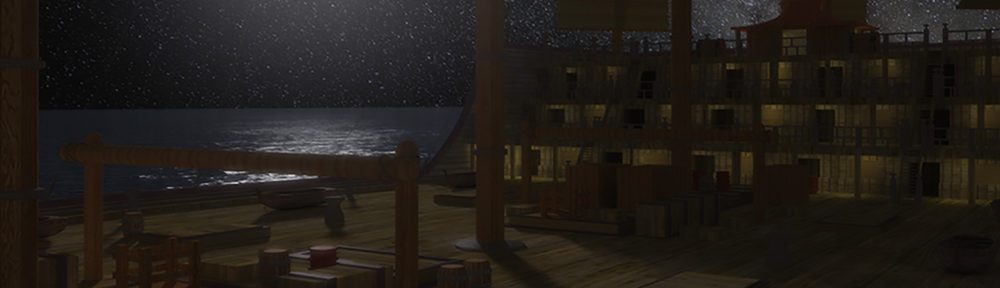
Anyway, here’s the scene in question, in glorious 720p. Even though that slightly uprezzes my 3D stuff, and drastically uprezzes the footage from the DVDs, it’s the only thing that I can think of that’ll stop YouTube from compressing it to death when I upload something at anything less. There’s also a photoshopped mockup for what the difficult shot might look like once it’s properly masked, and a modeler screenshot of the low-detail C’n’C I built so I could match the shots to exactly the right position and angle on B5.
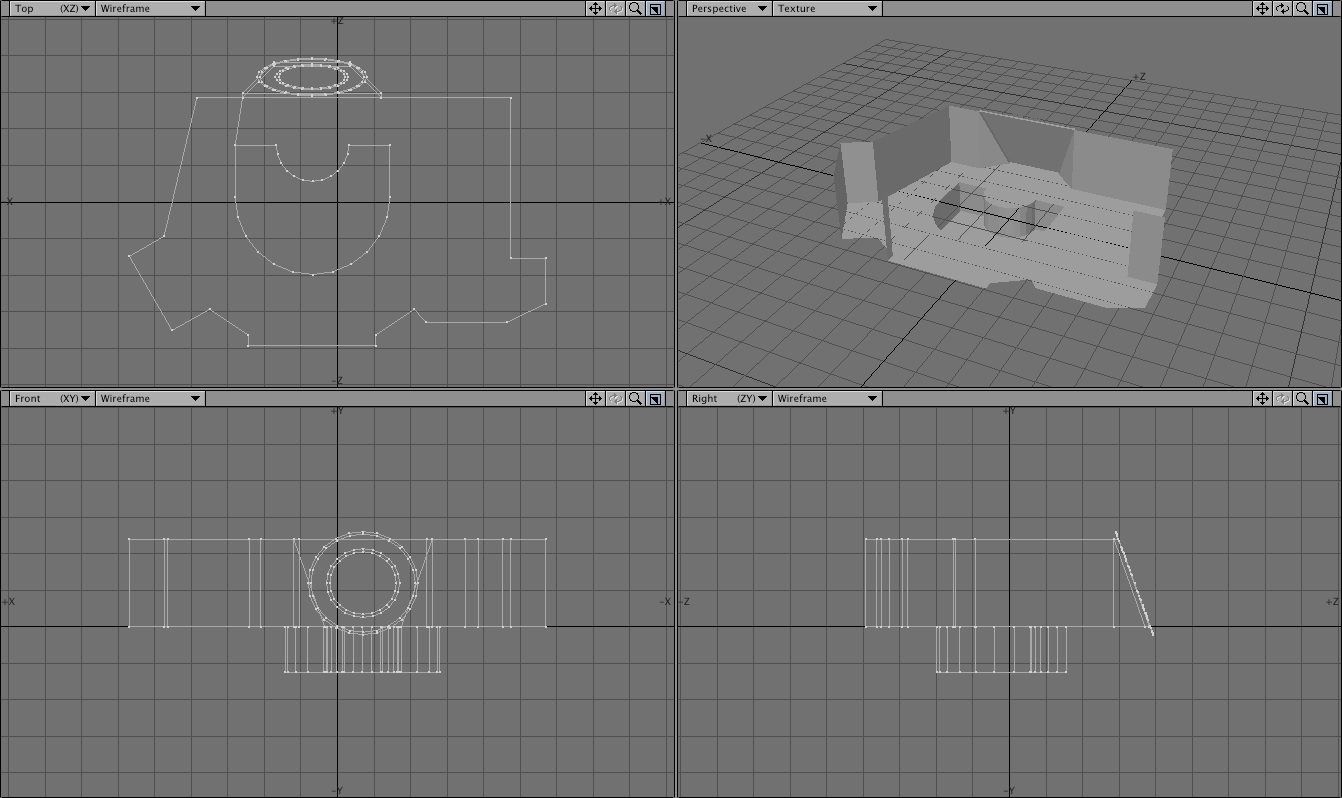
I built it by matching camera angles to DVD screencaps in layout then shifting points in modeler until everything lined up. It’s a bit weird, probably since I had to guess about the original camera FoVs, but as long as the window was close, it was good enough. I’ll come back to it later and try to adjust the whole thing to be in proportion, especially the right side. The captain’s station is so screwed up, I don’t even know how it’s all supposed to fit together in the same space as the left side.
I was also really surprised when I figured out that the left wall wasn’t perpendicular to anything, not to mention how much bigger the room is in scale to the station than the corresponding part of the show model was.

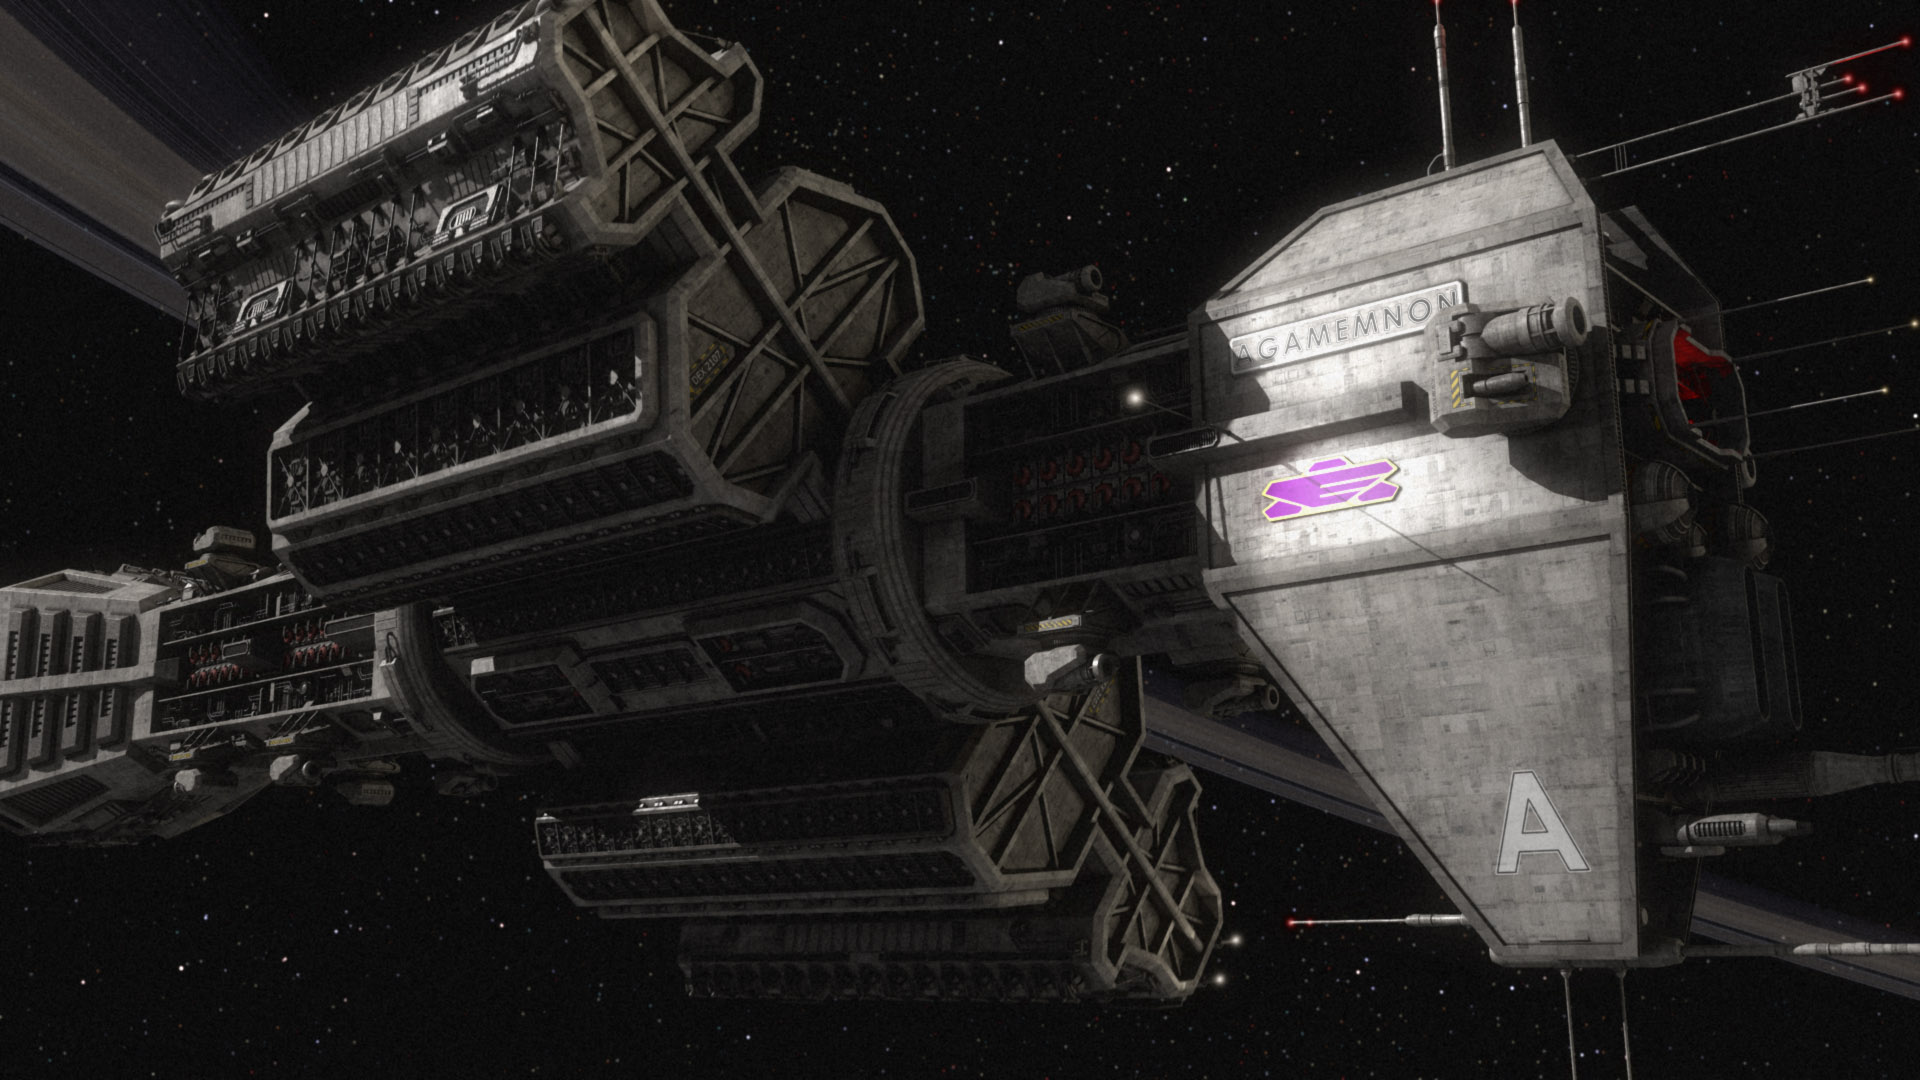
Babylon 5: The Complete Second Season


