Babylon 5 2×01 Effects Update Supplemental- The Three-Edged Sword

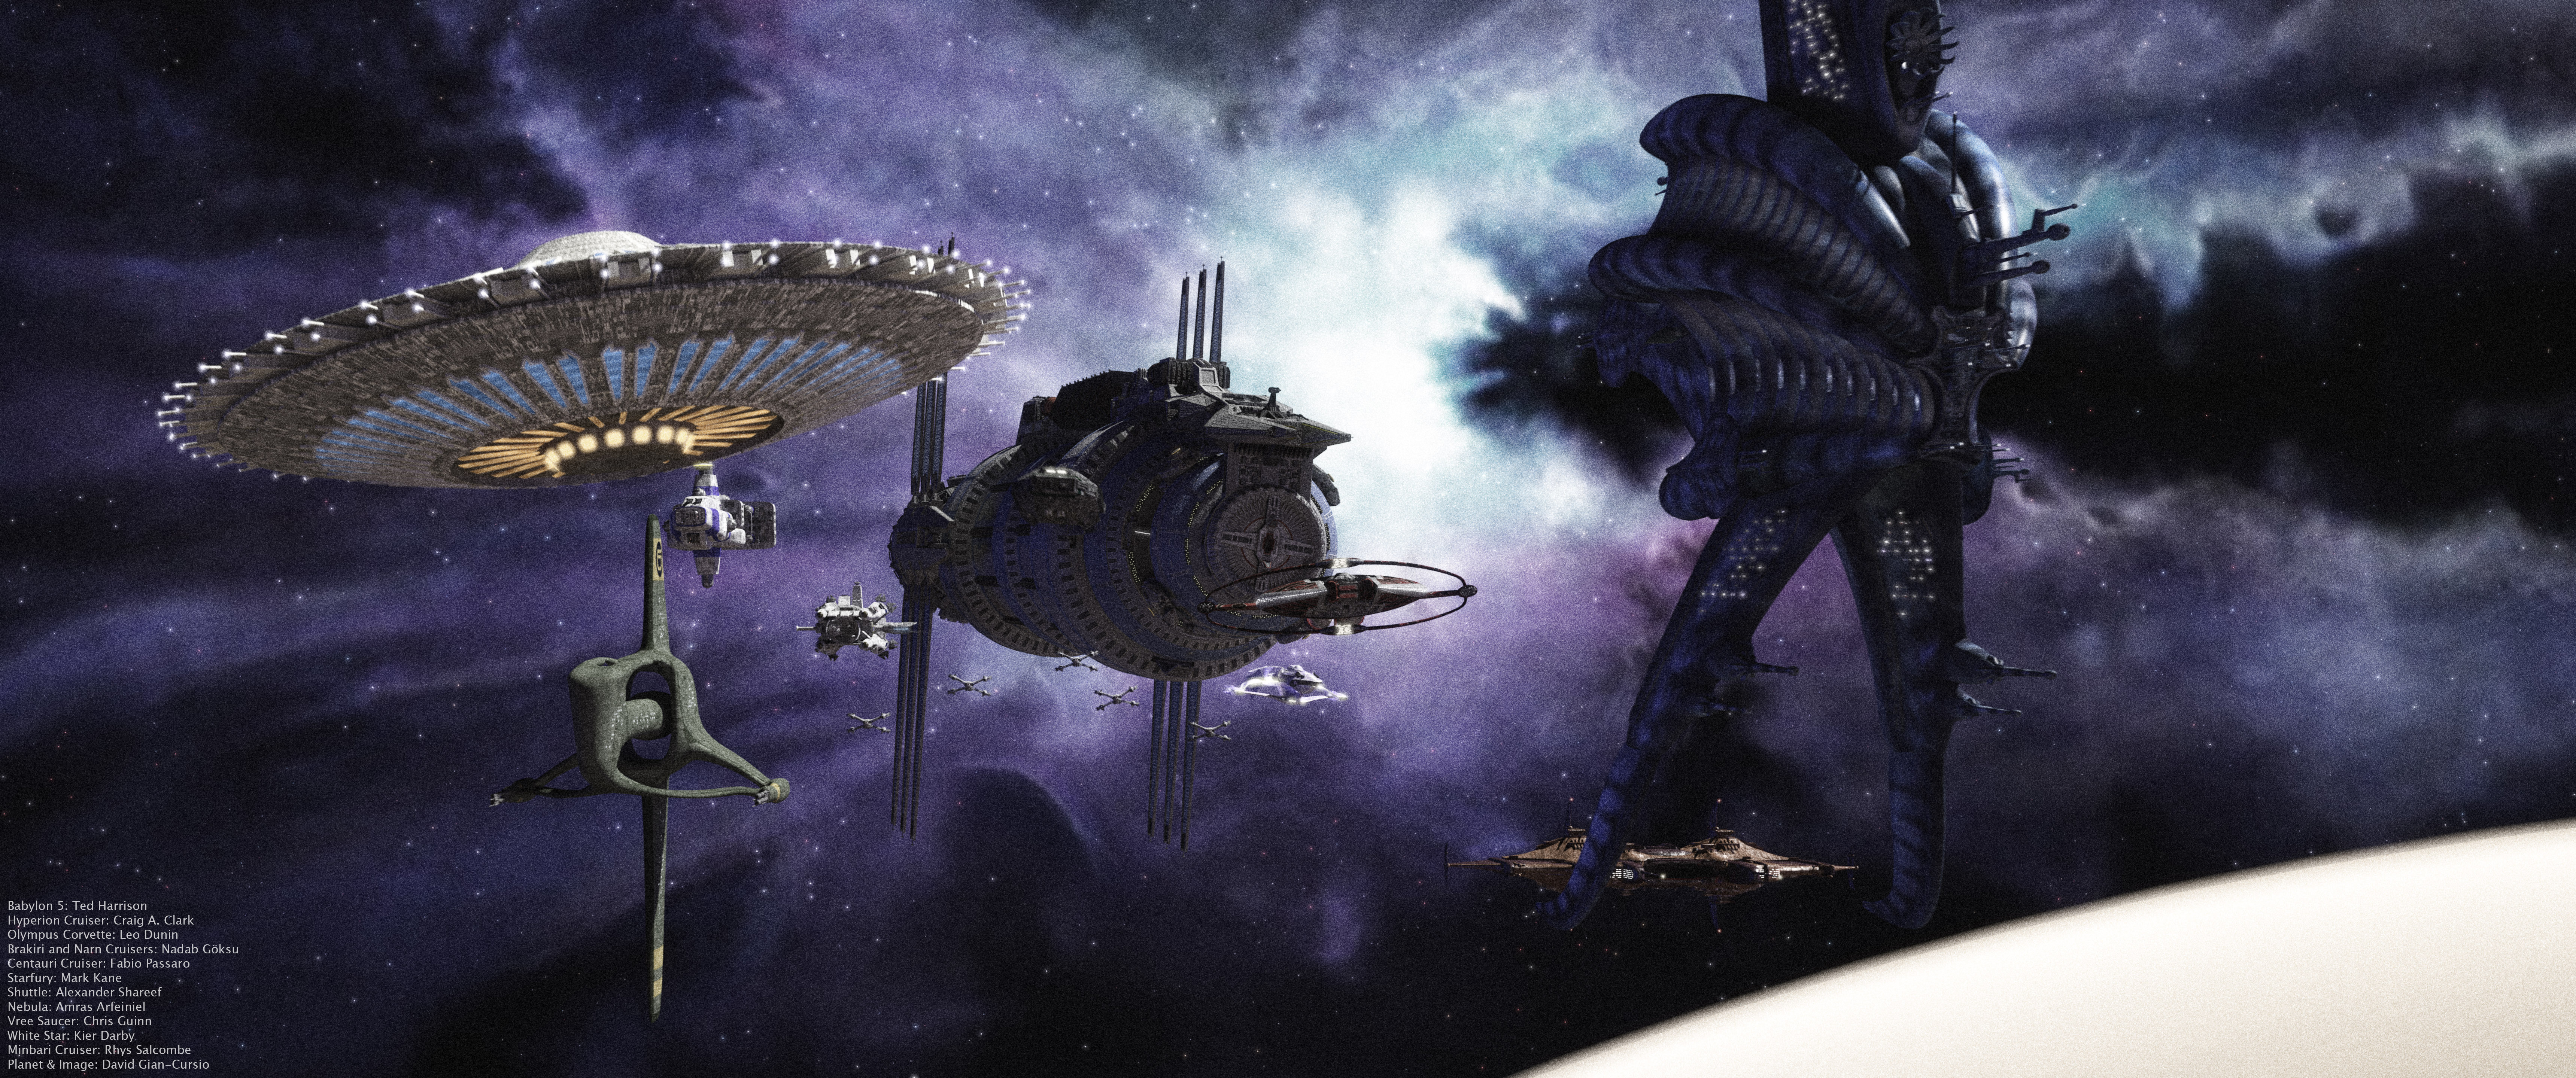
The surprise Babylon 5 HD remaster came out on Blu-Ray recently. Something I was curious about was how difficult it would be to combine the 4×3 Blu-Rays with the 16×9 DVDs to get a 16×9 pseudo-HD version of the show, with the edges upscaled but the center using real film.

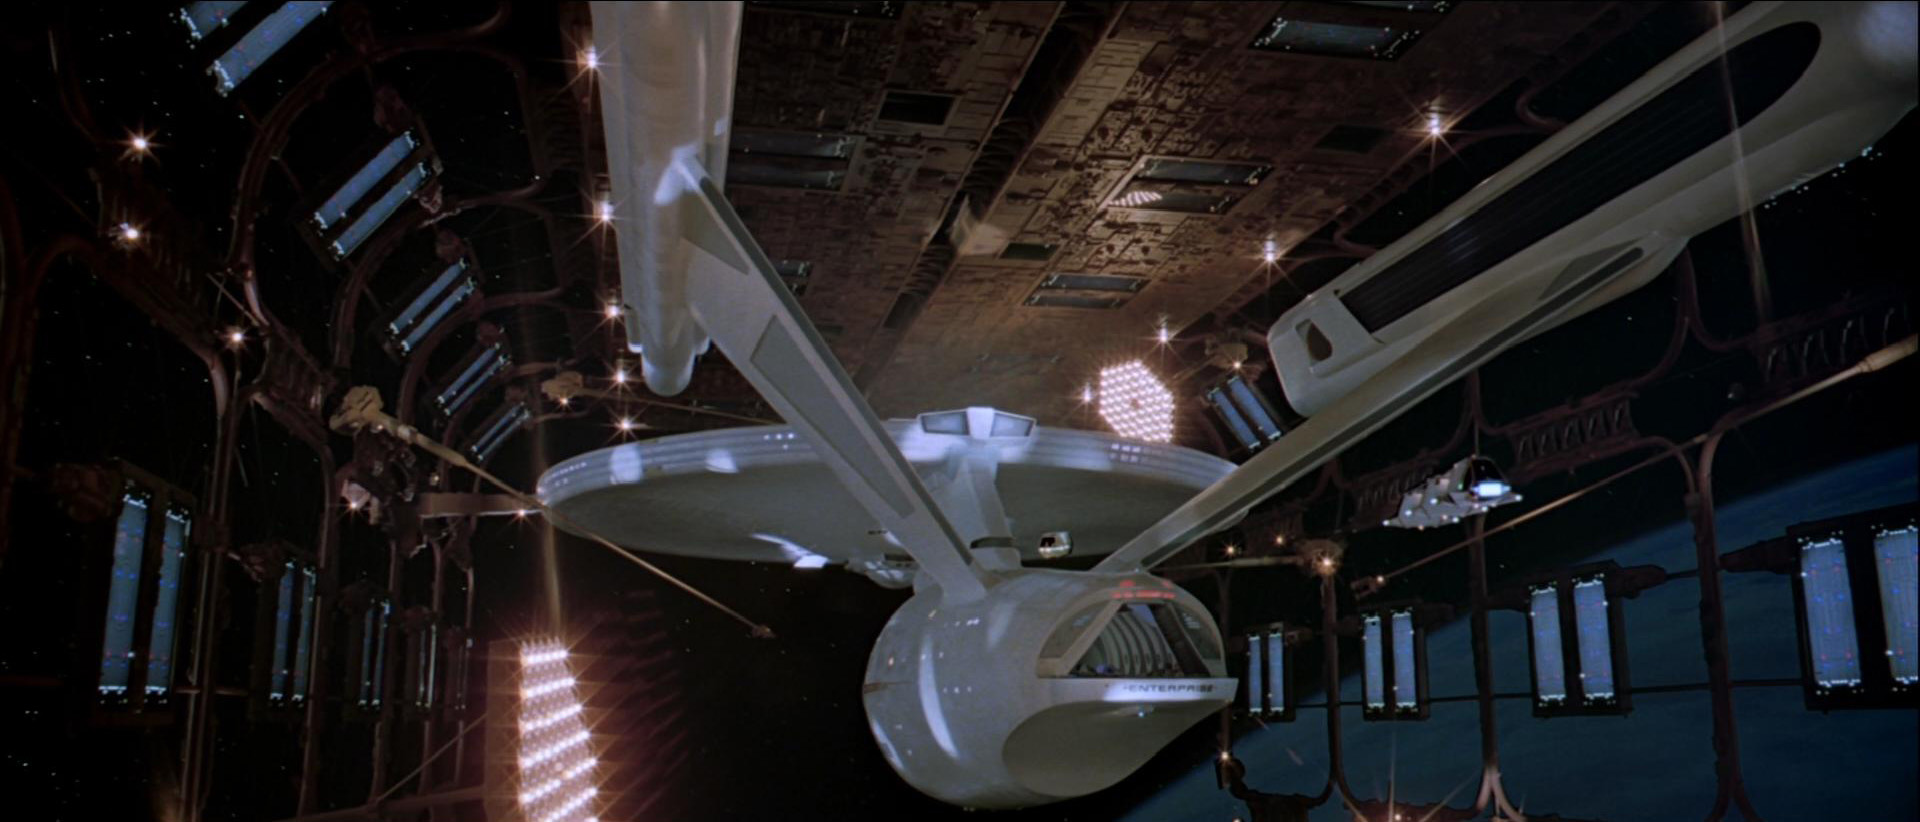
I did a quick test on a frame from “Points of Departure,” and the answer is “not as easy as I hoped.” I’ve tried this technique before, matching and blending the same film from two different releases (and, apparently, two different digital scans), and I’ve also run into this problem of the film not scanning perfectly flat, and having some amount of distortion. I’d have to do further research to see if there are tools to address this that I have access to,1It feels like a combination of technologies should be able to solve this; I’ve got two slightly different sources of the same ground-truth. The HD frame shows exactly how 3/4th of the SD frame should look after it’s upscaled, so it should be possible to have a computer program compare the two, adjust the color, size, rotation, and proportion of the SD frame to match the HD one as closely as possible, apply some ML upscaling (ideally using the very shot that’s being upscaled as training data so the computer can extrapolate the lost detail at the sides of the frame from the existing detail in the middle), and blend the two sources. I know all these features exist independently, but I have no idea how to get them all into one tool. There might also be some complications with the DVDs needing to be detelecined and having scanline issues in the raw data. so this is just a quick test and comparison using Photoshop. The vertical framing of the DVD and Blu-Ray don’t match exactly, and the DVD’s colors are a little more contrasty, so I had to make some adjustments to match better.

First off, the test image merging the two sources. I upscaled the DVD frame using an AI tool, color-corrected it as described above, and added some grain, while softening the border between the HD frame and the widescreen one:

It could be worse!

Continue reading

References
1 It feels like a combination of technologies should be able to solve this; I’ve got two slightly different sources of the same ground-truth. The HD frame shows exactly how 3/4th of the SD frame should look after it’s upscaled, so it should be possible to have a computer program compare the two, adjust the color, size, rotation, and proportion of the SD frame to match the HD one as closely as possible, apply some ML upscaling (ideally using the very shot that’s being upscaled as training data so the computer can extrapolate the lost detail at the sides of the frame from the existing detail in the middle), and blend the two sources. I know all these features exist independently, but I have no idea how to get them all into one tool. There might also be some complications with the DVDs needing to be detelecined and having scanline issues in the raw data.

Back to Basics with the Enterprise-G

A few days ago, Marc Bell released his CG model of the Titan-A/Enterprise-G from the final season of Star Trek: Picard. I’ve been acutely aware for the past… fifteen years… that I don’t just hop onto the computer to mess around and make some fun spaceship pictures like I used to. Despite my attempt to get back into the groove a few years ago, it didn’t quite take, possibly because I was scratching the 3D itch at my job at the time, and then Lightwave 2018 came out and my library of models assembled over the years and tweaked to my liking became more-or-less useless.

I recently started rebuilding a new, PBR-based set of models in Lightwave 2020, mostly thanks to the models of Chris Kuhn, Marc Bell, and Alexander Klemm, but I hadn’t really done anything with them yet. This new model was a good chance to, and since it hadn’t been officially converted into Lightwave, I got to dip back into my roots a little when I had to convert anything I wanted to use. Downloading a cool new model that was just mesh and textures, and really digging into it to get it to look right. I spent the weekend building out the lighting rig and doing various minor modifications and tweaks, like breaking out the formation lights and impulse glows so they could be animated, and found picked an angle to run a test render (a good thing, too, I found a tiny sliver of window-box sticking out of the hull). I thought it looked pretty good, so I did a final version adding a basic Sun/Earth/Moon three-point light setup, and that was that.

I tried to think of something more dramatic, and thought up a concept for another image, with the Enterprise-G over the Founder’s Homeworld seen in Deep Space Nine, returning the renegade Changelings who’d infiltrated Starfleet to their own people. Luckily, my prep came in handy, and I already had a Jem’Hadar fighter and a Defiant ready to go for a suitable escort. I spent a bit of time making new decals for the Defiant-A (I know in-canon the second Defiant had the same markings as the first one, but Ron Moore wanted it to be the Defiant-A, I wanted it to be the Defiant-A, so I made it that way). I was pretty far along before I remembered the Defiant was a museum exhibit now, so I just went with it, not having any better idea what ship Deep Space Nine might have assigned to it in the PIC era (or if there’s even still a DS9 at all). Maybe they flew it out as a goodwill historical thing.

“Repatriation”

Enterprise-G by Marc Bell, Jem’Hadar Fighter by Chris Kuhn, Defiant mesh by Chris Kuhn, textures by Marc Bell, and Lightwave conversion by Matt Christou.

Star backgrounds in both images are NASA’s Deep Star Map (though I should’ve been used the fictionalized version without recognizable constellations for the second render). The Founder homeworld is NASA photo ISS048-E-010018, recolored in Photoshop to match the planet as seen on the show. Both images had compositing and post work done in After Effects.

Harpist Photoshoot

My friend Aysha Gomez-Kureishi has recently decided begin offering her services as a harpist performing events in the San Francisco Bay Area (as events become a thing again). While I don’t have much experience working with two-legged models in photographs, we decided to see what we could come up with improvising a photo stage in her home office. Luckily, Aysha does have experience modeling, so she knew how to pose, and all I needed to worry about was lighting/staging, and camera placement. She and her husband also had several general ideas for shots and setups.

These are the photos that she chose to use on her website. She’s also posted some outtakes to her Instagram feed.

100 Days, 100 Renders— Day 100

cdcr-100-a_day_in_the_life_credits

Perhaps it’s appropriate that my final image would be an ambitious misfire. I’ve occasionally created accidental long-exposure-style images from time to time. I’ve wondered about doing a sci-fi long exposure since I saw one in the 2002 edition of the Ships of the Line calendar (which sadly doesn’t even have a thumbnail online I can link to). My big mistake was having it be a daylight image. The ships orbiting Babylon 5 are so underexposed you can hardly see them even if you know they’re supposed to be there. There were also some technical gambles I took with lens flares and antialiasing that didn’t pay off. I think the concept is worthy of a second attempt based on what I learned, though.

Continue reading

100 Days, 100 Renders— Day 97

cdcr-097-final_approach_credits

As a little birthday treat, I decided to recreate one of my all-time favorite VFX shots. I got a lot of speckling after I had to reduce the render quality to get something that I could put up today, and the decision to use a photo of the Earth with such a prominent aurora in the background was a daring choice that didn’t really pay off, but the most important part of the image to me was how the shuttlebay interior turned out, and it looks good.