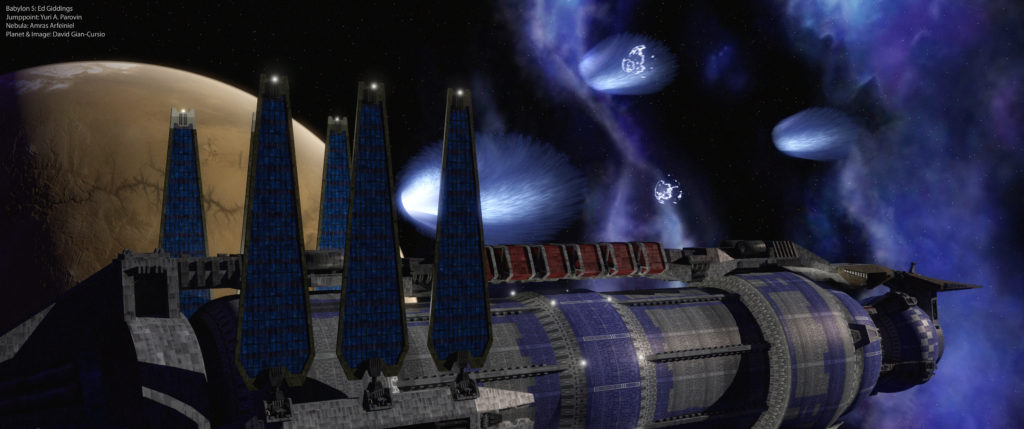
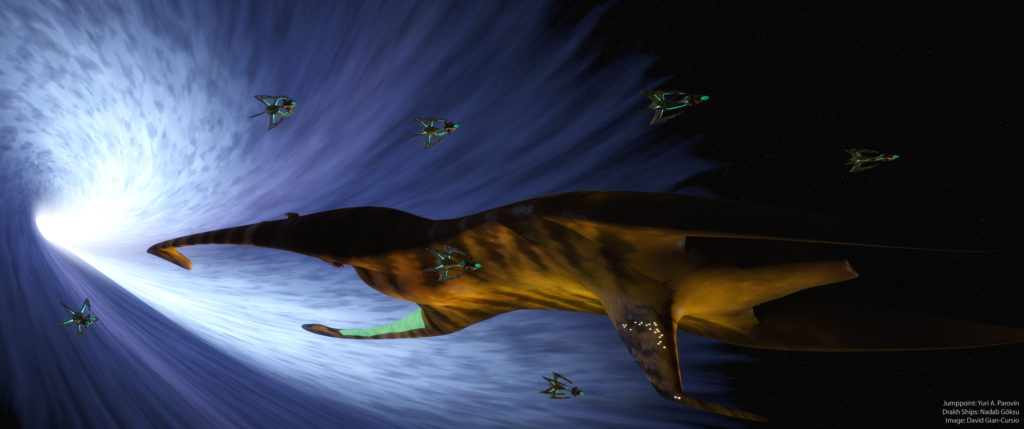
I could probably easily spend another week working on this jumppoint, putting it into real scenes and realizing things I missed (there’s a reason none of the points in this shot are in front of the planet), and then doing it all again until I’m satisfied. And there’s got to be some way to do that transparent-from-the-sides effect in-camera…
Monthly Archives: October 2016
100 Days, 100 Renders— Day 64
90% of the way there on that jumppoint. Well, 90%, plus the recolor-jobs, and I’ll probably tweak the animation timing again. And again. And again…
The most pressing thing to fix, though, is the shape. At times in Babylon 5 and Crusade, the jump point vortex appeared to be tapered, rather than a straight-edged cone. It was definitely the case in “The Lost Tales.” I attempted to replicate that by modifying Yuri’s model, but I think I might’ve blown my order-of-operations (it’s a little bit more complicated to change than you’d think because this version of the vortex is a multi-part model).
Still, I might just be able to run off the picture I planned for Sunday tonight. Though Lightwave got oddly temperamental about loading more stuff in with this newly-modified scene setup. I’m hoping it was just a freak arrangement of factors, though I can’t ignore the age of my computer being a contributing factor. I feel like I’m coaxing an old jalopy at this point. Just needs to hold on for a little longer…
100 Days, 100 Renders— Day 63
I spent most of yesterday fiddling with Yuri Parovin’s A-Call-to-Arms-style jumppoint. While Lightwave makes most of the conversion for working in linear color fairly brainless, surfaces that are driven in greyscale any don’t need to be gamma-corrected don’t react well. This is simple enough to fix for image maps, but it’s more complicated with procedural textures, and the result that the model came out looking funny. I also wanted to adjust the timing of the animation effects. I ended up with something that looked good in a still, but didn’t animate well. I’ll keep working on it today, I think I’m most of the way there.
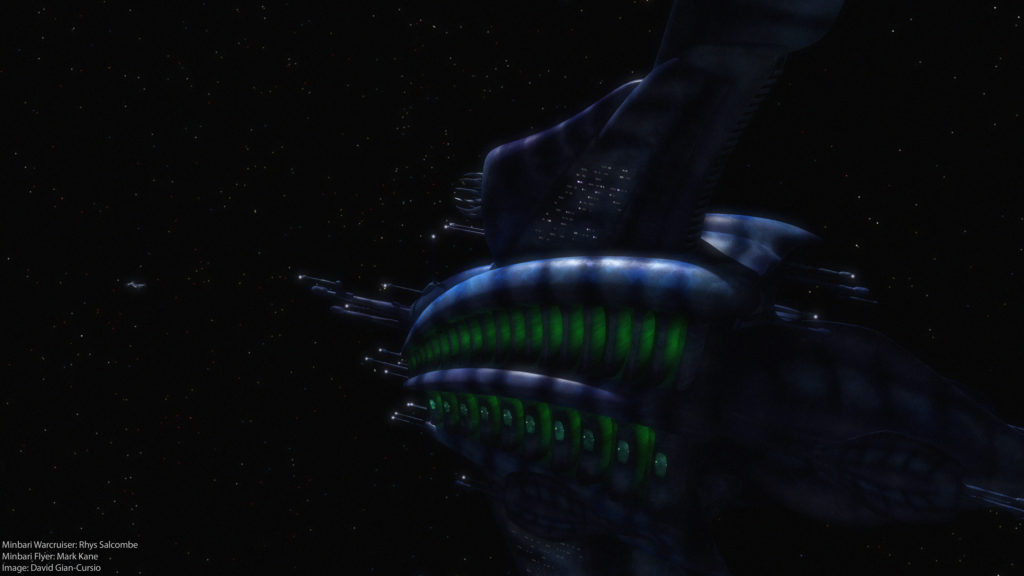
Still, it ended up being very late, and I had nothing ready for today, so I cast about for an idea, and came up with a stock Babylon 5 shot of a Minbari Flyer approaching the Gray Council’s cruiser. I’d already prepared a version of the ship when I added the rib lights to Rhys Salcombe’s model (it’s the green running lights that distinguish it), so it was quick one to put together.
100 Days, 100 Renders— Day 62
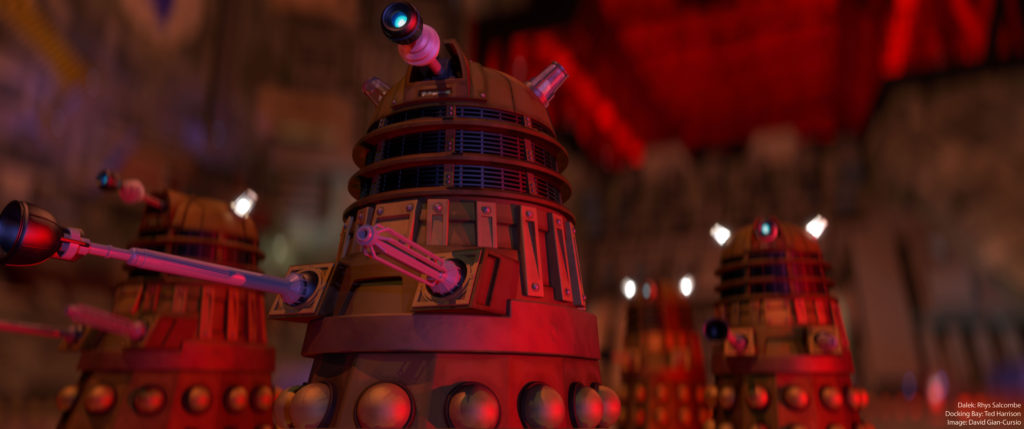
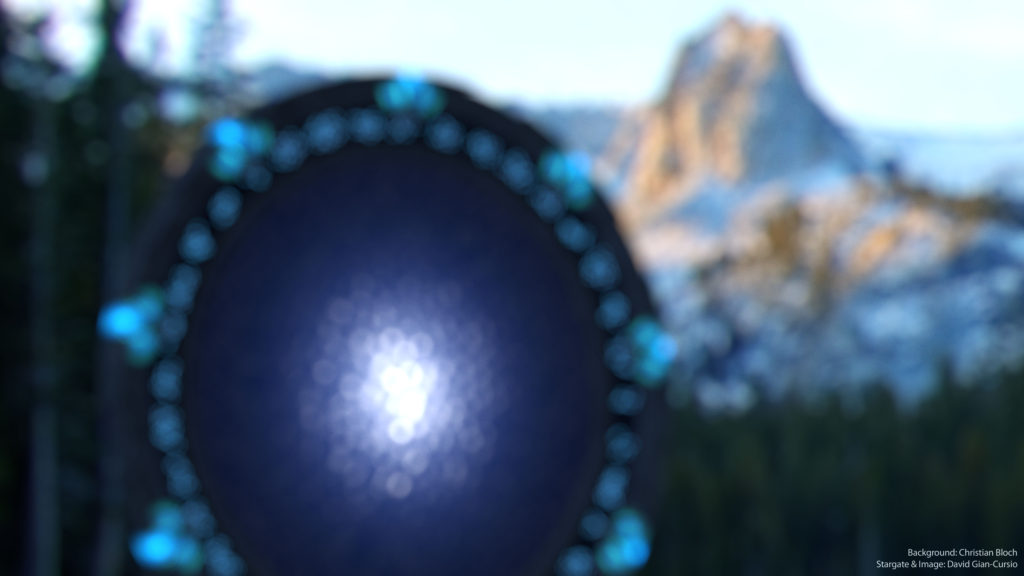
More adventures in bokeh today. All post-processed (who has the time to produce 3D-rendered depth of field on the daily? Though I am curious about how it might turn out for backgrounds and not just fun effects on small objects). In this case, I rendered each object seperately, and then applied different amounts of blur to each layer in Photoshop. It’s pretty effective, though probably not physically accurate, considering I eyeballed how out-of-focus each object should be.
I originally thought of setting the Daleks into my model-exhibiting cove, since the background would be out-of-focus anyway, but then I realized the Babylon 5 docking bay would be much more visually interesting, and barely recognizable as being from the wrong show considering the angle and the degree of blur on it. That was the right choice.
Edited 2016-10-09: I realized after posting this that I forgot to take anamorphic distortion into account when I blurred this image. I’ve replaced the top of the page with a corrected version. Here’s the first version.
100 Days, 100 Renders— Day 61
Along with my lens-dirt experiment, I’ve been fiddling with bokeh in the wake of the fake depth-of-field effects in the new iPhone. It’s kind of fun to see the bright points in my image become constellations of discs when I feed Photoshop an HDR. I think I might like to do some more human-scale work in the future so I can use effects like this more often. (I also finally got the Smart IBL system to work as intended. Pro-tip: Don’t put every SIBL setup you ever downloaded into it’s source folder. It does not like browsing through many dozens of HDR environments. I just started moving in whatever one I wanted to use to the SIBL folder, using the plugin to generate the scene, and then saving that for future uses.)
There should probably be something in the foreground that’s in focus. I originally planned a more elaborate setup that would include foreground elements, but it would’ve required some amount of prepwork, and my new job has limited my time and energy in the evenings. I’m doing some interesting stuff there, and I’m looking forward to being able to share more about it, but the only thing keeping me going on this project for the next thirty-nine days is my sheer stubbornness. Getting ahead on scene-setup did help considerably a couple weeks ago. Hopefully I’ll be able to bank more than a few shots this weekend.
Hm, that out-of-focus puddle would look really good in an animation…
100 Days, 100 Renders— Day 60
100 Days, 100 Renders— Day 59
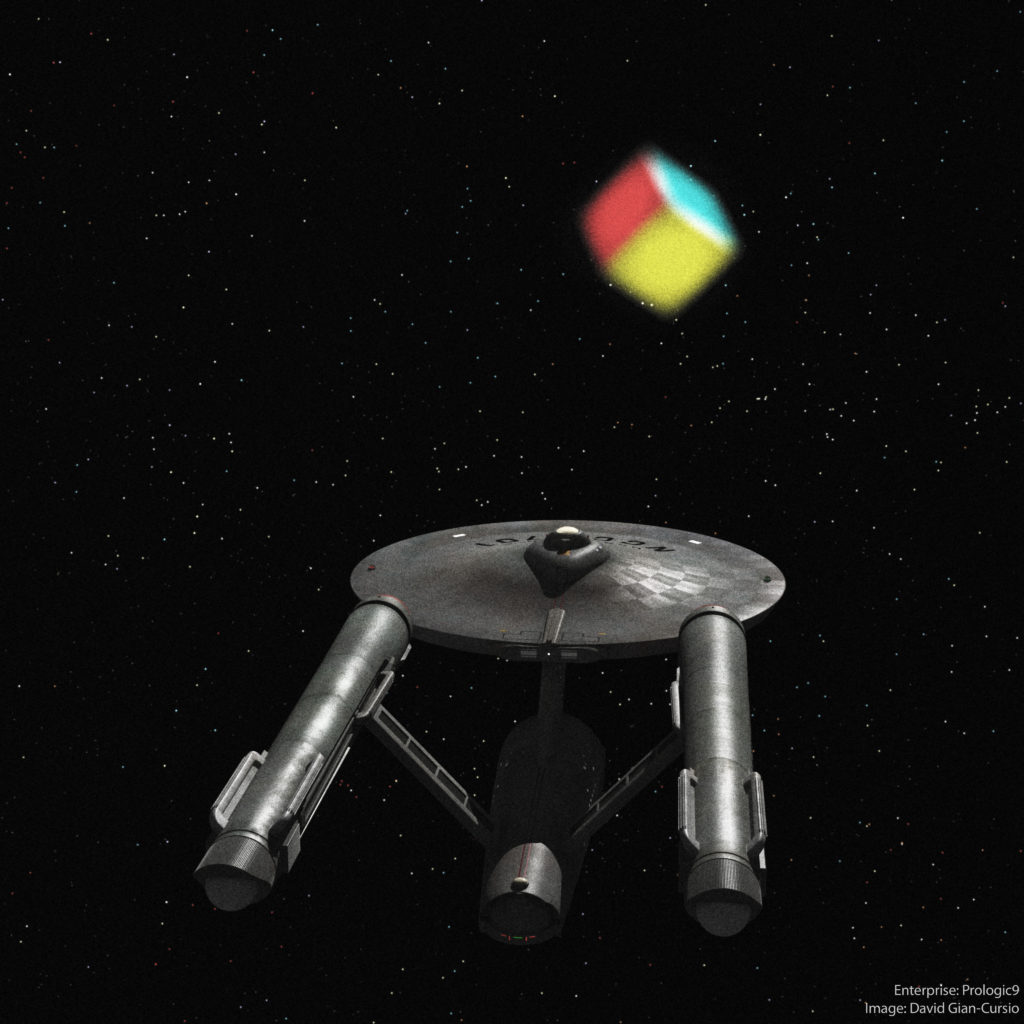
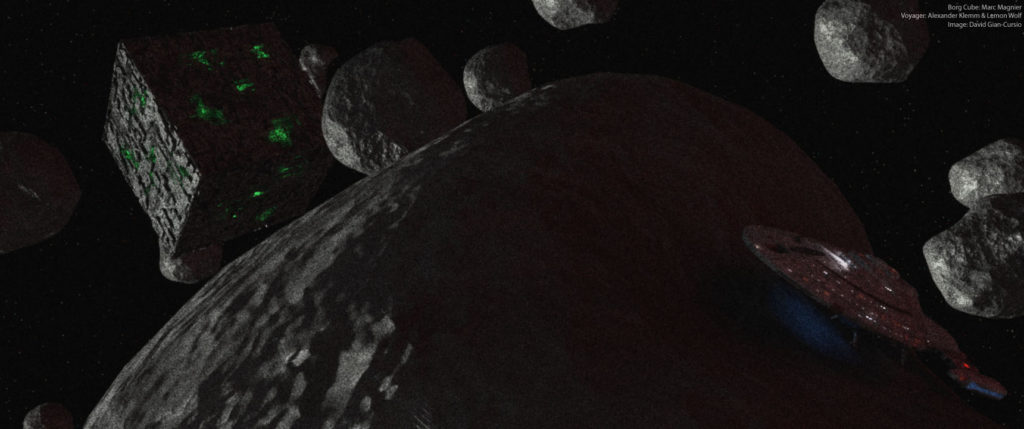
This image was inspired by me not being able to get the music out of my head.
I had some trouble getting exactly the right look for the cube. It seemed to be either/or in regards to having each side having a definite color versus flaring to near-white at the middle.
100 Days, 100 Renders— Day 58
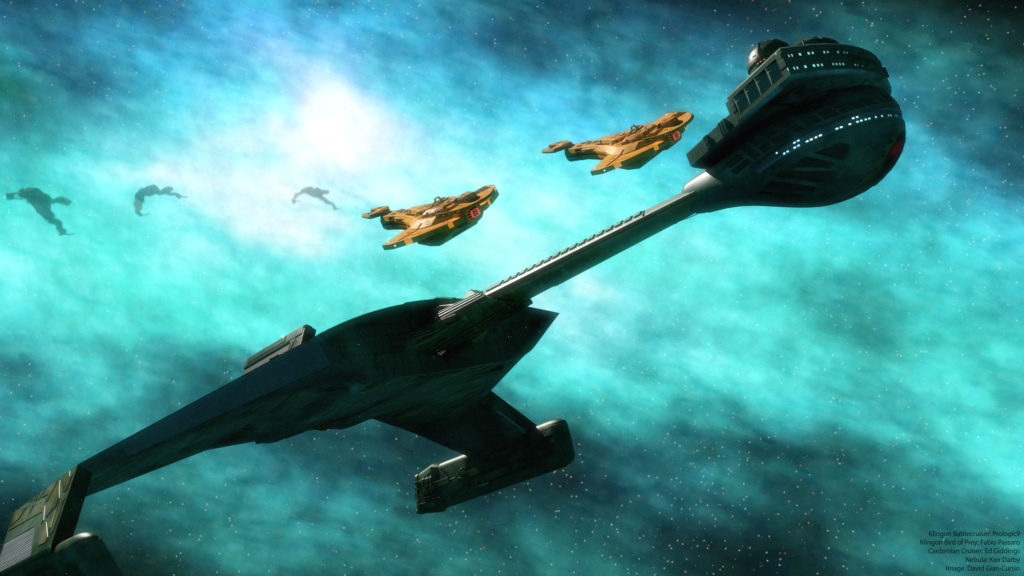
So, what is the Klingon word for “bait,” anyway?
It was overshadowed by later developments in the show, but Deep Space Nine had a bit of backstory about a history of conflict between the Cardassians and Klingons, including a “incident” in a certain nebula that lasted for 18 years.
The cloaking effect on the Birds of Prey was done with the smudge tool in Photoshop, which is probably not the best way to achieve that effect.
100 Days, 100 Renders— Day 57
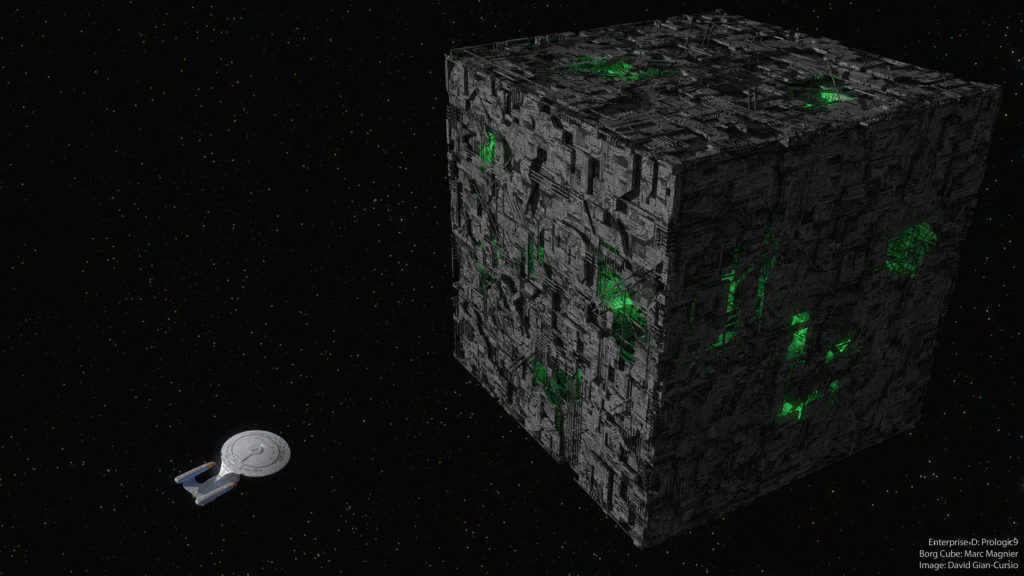
One of those images that includes a positively desperate amount of bloom and grain to salvage it.
Also, I need higher-resolution explosion photography. These years-old sample images aren’t cutting it anymore. Though in this day and age, it’s probably almost easier for me to just switch to pure-3D fire effects.

